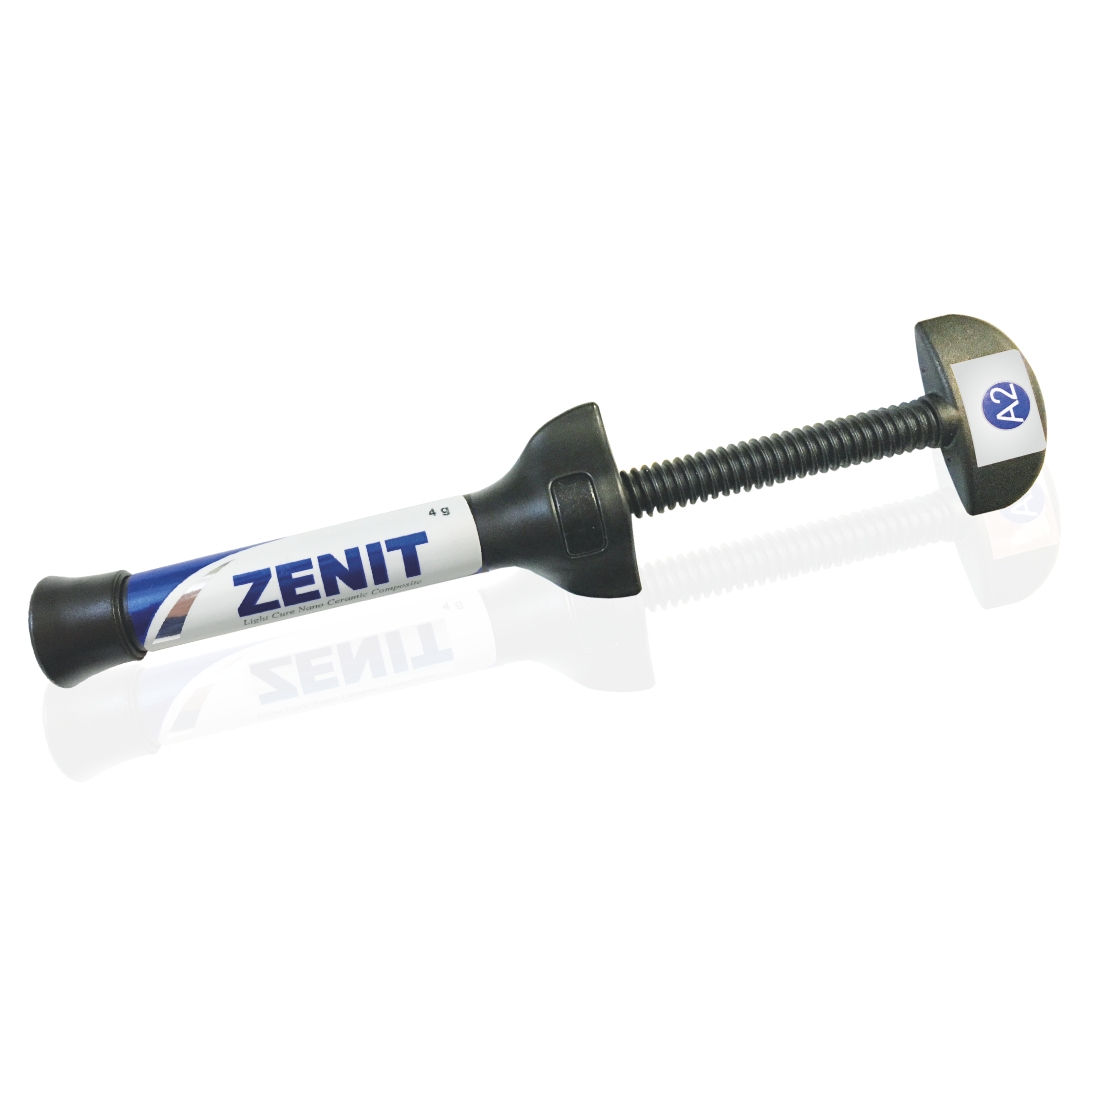
PRESIDENT DENTAL ZENIT - Nano Seramik Kompozit Refil (4gr)
ZENIT - Nano Seramik Kompozit Refill
Paketleme 1x 4gr. şırınga
Renk Seçenekleri:
PRD.01.10001ZN01 A1
PRD.01.10001ZN02 A2
PRD.01.10001ZN03 A3
PRD.01.10001ZN04 A3.5
PRD.01.10001ZN05 A4
PRD.01.10001ZN06 B1
PRD.01.10001ZN07 B2
PRD.01.10001ZN09 B3
PRD.01.10001ZN09 C2
PRD.01.10001ZN10 C3
PRD.01.10001ZN11 A2O
PRD.01.10001ZN12 B2O
PRD.01.10001ZN13 W2
PRD.01.10001ZN14 W3
PRD.01.10001ZN15 UL
PRD.01.10001ZN16 ER
PRD.01.10001ZN17 UD
PRD.01.10001ZN18 InTr
PRD.01.10001ZN19 W1
PRD.01.10001ZN20 InBlu
Kullanım Talimatları:
Nano Kompozit ışıkla kürlenen, yüksek parlaklıkta cilalanan kompozittir, adhesiv dolgu tedavisinde kullanılan ultra-ince, radyo-opak porselen dolgu içerir. Yüksek bir parlaklık sağlayacak şekilde cilalanabilir. Ultra-ince partiküllü dolgusu sayesinde son derece homojen restorasyonlar yapılabilir ve kolayca yüksek parlaklık sağlayacak şekilde cilalanabilir. Bukalemun etkisi dolgu renginin diş yapısına mükemmelen uymasını sağlar. DIN EN ISO 24049 kılavuzlarına uygum sağlanmıştır. Nano Kompozit pratik vidalı şırıngalar içinde temin edilir.
Bileşim:
Monomer matris: diuretan dimethakrilat, butanediol dimetakrilat, isopropylid-bis[2(3)-hidroksi-3(2)-(4-fenoksi)propil] bismetakrilat [Bis-GMA]
Toplam dolgu içeriği ağırlıkça %83 (hacimce %70)
– Cam dolgu (orta tanecik boyu: 0.7 mikron)
– Pirojenik silika (orta tanecik boyu: 12 nm)
– Agglomere nano-partiküller (orta tanecik boyu 0.6 mikron)
Endikasyonlar
- Black sınıfı I, II, III, IV ve V oyuklarda direkt anterior ve posterior restorasyonlar
- Inlay, onlay ve lamina vener gibi indirect restorasyonlar
- Molar ve premolar dişlerde genişletilmiş fissür kapatma
- Cole
- Mobil dişlerin splinte alınması
- Konturların ayarlanması ve estetiği düzeltmek için renk verilmesi
Uygulama
Hazırlık önlemleri
Tedaviye başlamadan önce dişi florür içermeyen bir cila macunuyla temizleyin. Diş halen nemliyken renk seçimi için Vita® shade kılavuzu kullanın.
1. Kavitenin Prepare Edilmesi
Kavite genelde adhesif teknikler için gerektiği derecede minimal invazif olarak prepare edin. Anterior bölgede tüm mine kenar-lara eğim verilmelidir. Posterior bölgedeki kenarlara eğim vermeyin ve dilim şeklinde preparasyondan kaçının. Kaviteyi su spreyleyerek temizleyin, tüm kalıntıları uzaklaştırın ve kurutun. Kavite izole olmalıdır. Kauçuk bir engel kullanılması tavsiye edilir.
2. Pulpanın korunması / Kavite astarı
Mine-dentin adhesivi kullanılacaksa kavite astarına gerek yoktur. Bazı alanların pulpaya çok yakın olduğu çok derin kavitelerde pulpa kalsiyum hidroksit içeren bir materyalle kaplanmalıdır.
3. Aproksimal temas bölgeleri
Aproksimal bölgelerdeki kaviteleri doldururken transparan bir matris yerleştirin ve yerine sabitleyin.
4. Etching ile Aşındırma
Etching'i önce kavitenin mine alanlarına uygulatın ve 30 saniye etkisini göstermesini bekleyin. Sonra kavitenin ta-mamını (dentin) aşındırma jeliyle doldurun ve 15 saniye daha etkisini göstermesi için bekleyin. Dentindeki aşındırma süresi 20 saniyeyi geçmemelidir. Sonra kaviteyi su spreyiyle iyice yıkayın ve yağsız basınçlı havayla kurutun. Dentini fazla kurutmayın. Kurutulmuş ve aşındırılmış mine yüzeyleri tebeşir beyazı görünür, bağlayıcının uygulanmasından önce kontamine olmamalıdır. Yüzey tükürükle kontamine olursa tekrar yıkayıp kurutun ve gerekirse tekrar aşındırma yapın.
5. Bağlayıcı ajanın uygulanması Ayrıntılar için Prebond talimatlarına bakınız.
6. Kompozitin kavite içine yerleştirilmesi
Vidalı şırıngadan gerekli miktarda kompoziti alın, standart metal aletler kullanarak kaviteye uygulayın ve şekil verin. Tabakaların kalınlığı 2 mm'den fazla olmamalıdır.İnce ve non-polimerize bir film olan dispersiyon tabakası havadaki oksijenin etkisiyle kürlemeden sonra yüzeyde kalır. Bu tabakalar arasında bir kimyasal bağ sağlar ve dokunulmamalı ve nemle kontamine edilmemelidir.
Kürleme
Tüm renkler için standart halojen polimerizasyon birimi veya LED polimerizasyon lambasıyla maruziyet süresi tabaka başına 40 saniye, plazma polimerizasyon birimiyle 2 x 3 saniyedir. Işık kılavuzunu dolgu yüzeyine mümkün olduğu kadar yakın tutun. Kompleks dolguların her yüzeyini polimerize edin.
7. Tıraşlama
Nano Kompozit kürlemeden hemen sonra son kat parlatma elması, esnek diskler, silikon parlatıcılar ve parlatma fırçalarıyla tıraşlanabilir ve parlatılabilir. Oklüzyon ve artikülasyon yüzeylerini kontrol edin ve dolgunun yüzeyindeki yüksek noktaları veya istenmeyen artikülasyon yollarını ortadan kaldırmak için yontun.
İndirekt yöntem
Kavitenin prepare edilmesi
Kavite mümkün olduğu kadar minimal invasif şekilde, taraflar birbirinden ancak hafifçe uzaklaşacak şekilde prepare edilmelidir. Tüm iç hatlar ve noktasal açılar yuvarlatılmalıdır. Dilim şeklinde preparasyondan kaçının. Düz bir servikal omuz oluşturun, eğrilik vermeyin. Kaçınılamayan alt kesiler cam iyonomer sementle bloke edilmelidir. Preparasyonda yuvarlak uçlu ve ucu hafifçe incelen elmas kullanın. Pulpaya yakın dentin alanlarını ince bir kalsiyum hidroksit materyalle kaplayın.Ojenol içeren oyuk astarları konrtendikedir.
Inlay fabrikasyonu
Laboratuarda ölçüyü (impression) kuvvetli mental taşla dökün. Modelin çökmesini bekleyin ve ölçüyü çekip çıkarın. Alttan yapılan kesileri bloke edin ve modele yağsız ayırıcı ajan uygulayın. İnlayi model üzerinde tabakalar halinde inşa edin. Önce aproksimal ve derin oklüzyon kesimlerini inşa edin. Her bir tabaka en fazla 2 mm kalınlıkta olmalı ve ticari olarak bulunabilen bir ışıkla kürleme lambasıyla ayrıca kürlenmelidir. Bundan sonra bitmiş inlayden boya uzaklaştırılır ve tamamen kürlenir. Oklüzyon yüzeylerini fissür deliciyle tıraşlayın ve silikon parlatıcı ve elmas macunuyla yüksek parlaklık elde edilecek şekilde parlatın. İnlayi sabun ve suyla temizleyin ve hava/su spreyiyle yıkayın ve kurutun.
Inlay, onlay ve venerlerin takılması
Geçici restorasyonu çıkarın ve kaviteyi temizleyin. Kauçuk bir engel yerleştirin, sonra dişin prepare edilmiş yüzeyini temizleyin ve kurutun. Restorasyona hafif bir basınç uygulayarak uygunluğunu kontrol edin. Uyması için restorasyona kuvvet uygulamayın. Uygunluğu arttırmak için gerekirse oturma yüzeyini törpüleyin. İnlay'in oturmasının denenmesi sırasında oklüzyon ve artikülasyon kontrol edilmemelidir, çünkü inlay'in kırılması riski vardır. Dişi Etching ile aşındırın (Etching kullanım talimatlarına bakın), su spreyi ile iyice yıkayın ve aşındırılmış yüzeyleri yağısız basınçlı havayla kurutun. Kurutulmuş ve
aşındırılmış mine yüzeyleri tebeşir beyazı görünür, Prebond LC'nin uygulanmasından önce kontamine olmamalıdır. Yüzey tükürükle kontamine olursa tekrar yıkayıp kurutun ve gerekirse tekrar aşındırma yapın. Aşındırılmış mine ve oyuk duvarlarına bir fırçayla ince bir tabaka Prebond LC bağlayıcı ajan uygulayın, ovalayın ve standart bir polimerizasyon birimiyle 40 saniye kürleyin. Kürlemeden sonra uzaklaştırılmaması gereken bir dispersiyon tabakası oluşur, bu tabaka dolgu materyaliyle kimyasal bağ yapar. Kompozit restorasyon yüzeyinin iç tarafını kum püskürtmeyle temizleyin, sonra alkolle temizleyin ve ışıkla kürleme yapmadan Prebond LC uygulayın. Ticari ikili sertleştirici kompozit sementi karıştırın ve restorasyonun iç yüzeyine uygulayın. İnlay'i dikkatle yerine yerleştirin ve aşırı miktarı bir spatülle uzaklaştırın. Aproksimal taraftaki aşırı miktarı bir probla veya diş ipiyle uzaklaştırın. İnlay'in doğru pozisyonda kalmasını sağlamak için kür tamamlanıncaya kadar üzerine yuvarlak uçlu bir stoperle hafifçe bastırın. Aproksimalden başlayarak kompozitin her yüzeyini standart halojenli polimerizas-yon birimi veya LED polimerizasyon birimiyle 40 saniye kürleyin. Aşırı miktarı ince partiküllü elmas döner aletlerle sonra elmas kaplama son kat şeritlerle uzaklaştırın. Oklüzyonu kontrol edin ve gerekirse düzeltin. Son katı tamamlayın ve bir son kat cilasıyla parlatma setiyle parlatın. Not: İnlay kalınlığı 2 mm'den kalınsa ikili kürleme kompoziti kullanılmalıdır.
Lütfen dikkat:
Dental ışık altında çalışma süresi yaklaşık 2 dakikadır. Zaman alıcı restorasyonları yerleştirirken, kompozitin zamanından önce sertleşmesini önlemek için dental ışık geçici olarak uzaklaştırılmalı veya kompozit ışık geçirmeyen bir folyoyla kaplanmalıdır. Bu materyali sertleştirmek için emisyon spektrumu 350 – 500 nm olan bir ışıkla kürleme birimi kullanın. İstenen fiziksel özellikler ancak lambanın doğru fonksiyonuyla elde edilebileceğinden, parlaklık şiddeti imalatçının tanımladığı gibi düzenli olarak kontrol edilmelidir.